-
Small Business
Shop
My CenturyLink
Support
- Enterprise & Wholesale
Business help
Creating a notification setting for a user
Using Control Center, you can create a notification setting to be alert someone in your organization to billing, repair ticket, and scheduled maintenance changes for billing accounts and/or services. After you create a notification setting, you can edit it to change their contact information or disable notifications. You can also delete a notification setting if you no longer want that person to receive notifications.
To create a notification setting for a user:
- Sign in to Control Center. (Get help retrieving your username or password.)
- Click Admin, then Notification Management.
Control Center lists all notification settings set up for your organization. (To view your personal notification settings, click your username (in the upper-right corner) then click Notification Settings.)
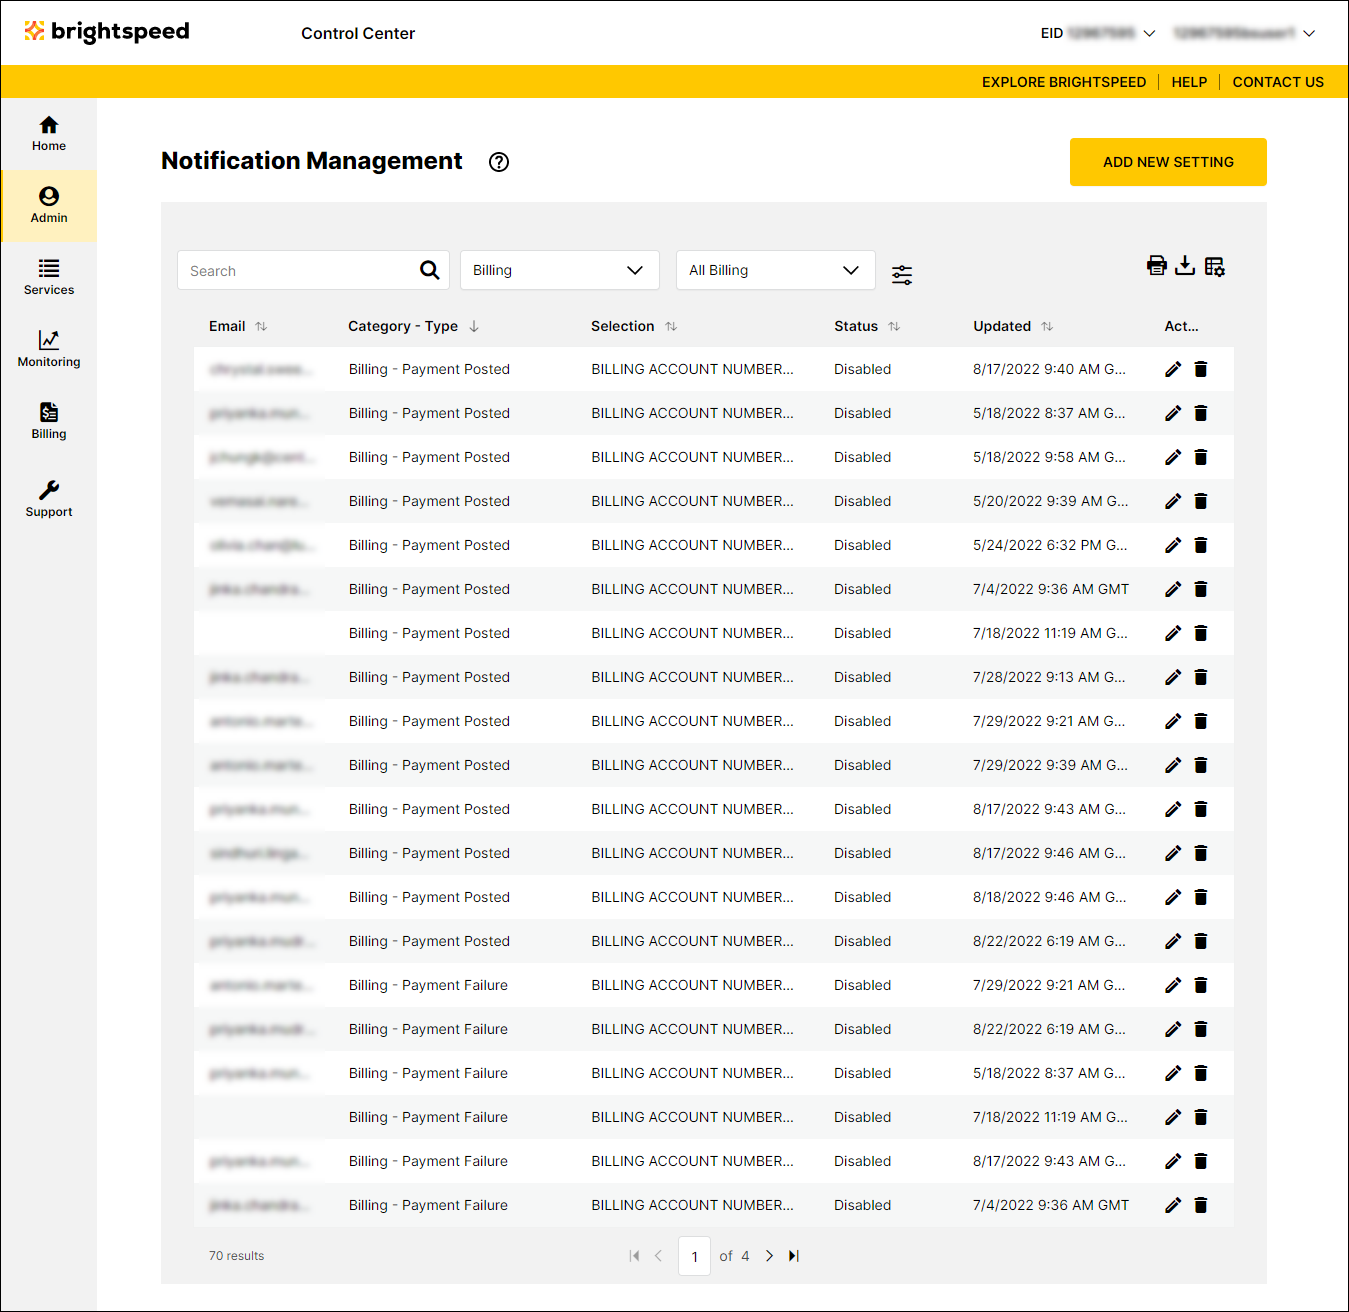
- Click Add New Setting.
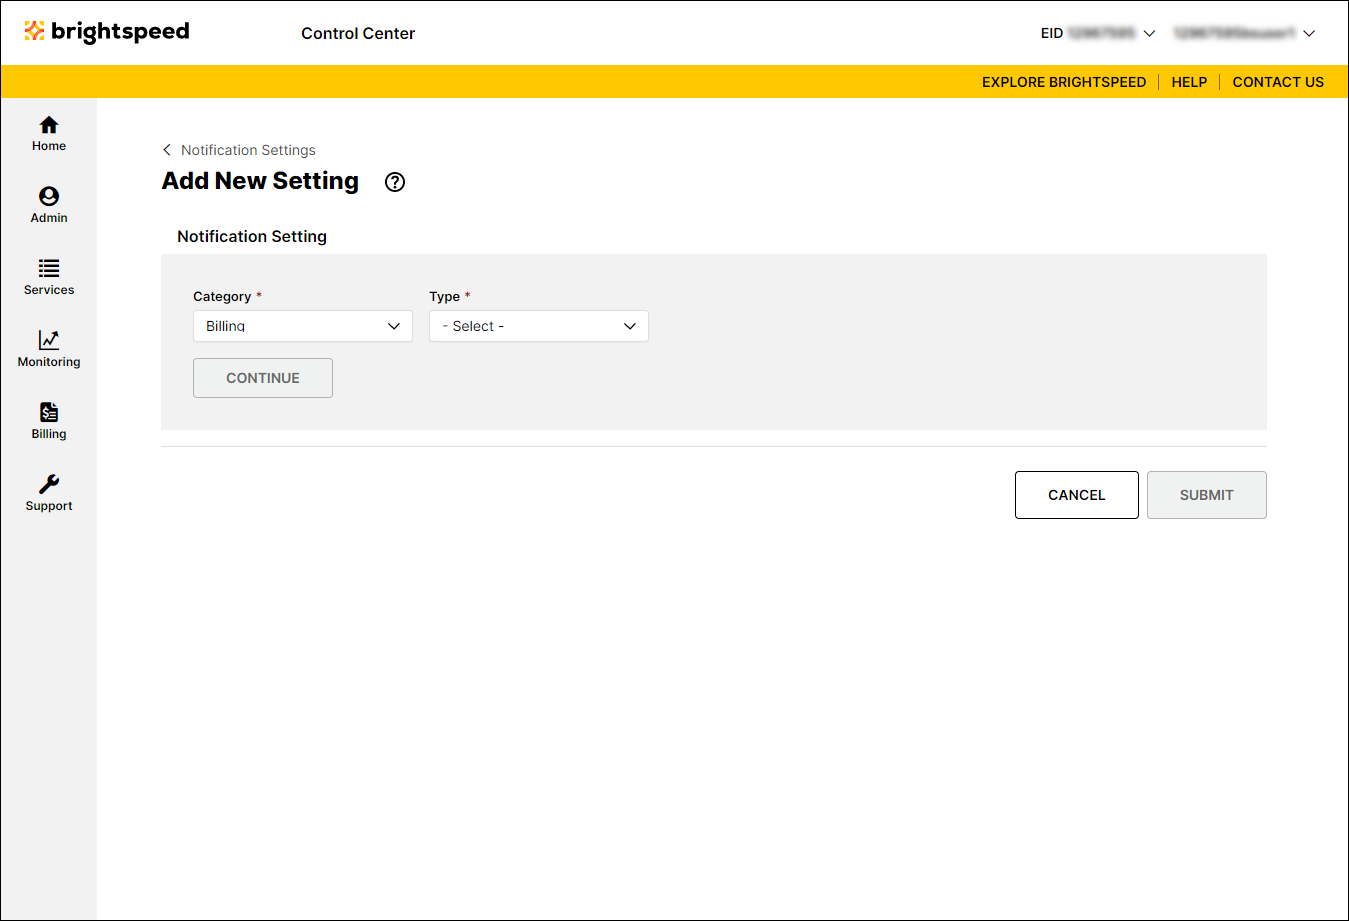
- From the Category list, select the type of notification setting you want to create: billing, repair tickets, or scheduled maintenance.
- From the Type list, select the type of notification for the category you selected.
- Click Continue.
- Do one of the following to create the notification setting:
- To create a billing notification setting:
- From the Customer Number list, select the customer number with accounts you want the person to be notified for. (To be notified for all customer numbers, select All Customer Numbers.)
- Select the billing account(s) you want to create the notification setting for:
- To be notified for all billing accounts, select All Billing Accounts.
- To specify billing accounts you want to be notified for, select Select Billing Account, then click the checkbox next to the billing account(s).
- To be notified for all billing accounts, select All Billing Accounts.
- Click Continue.
- In the Users section, select then checkbox for the user(s) you want to add to the notification setting, then use the list in the Delivery Method column to select how you want the person to be notified.
- From the Customer Number list, select the customer number with accounts you want the person to be notified for. (To be notified for all customer numbers, select All Customer Numbers.)
- To create a repair ticket notification setting:
- In the Contacts section, select the contact(s) you want to add to the notification setting, then use the list in the Language column to select the language for the contact. (If you don't see the contact you want to use, click Add New Contact, fill in the information for the new contact, then click Save.)
- From the Customer Number list, select the customer number with accounts you want the person to be notified for. (To be notified for all customer numbers, select All Customer Numbers.)
- Select the billing account(s) you want to create the notification setting for:
- To be notified for all billing accounts, select All Billing Accounts.
- To specify billing accounts you want to be notified for, select Select Billing Account, then click the checkbox next to the billing account(s).
- To be notified for all billing accounts, select All Billing Accounts.
- From the Services list, select the services you want to create the notification setting for:
- To be notified for all services, select All Services.
- To select the locations you want to be notified for, select Select Locations, then click the checkbox next to the location(s).
- To select the types of services you want to be notified for, select Select Service Types, then click the checkbox next to the service category(s).
- To select the service IDs you want to be notified for, select Select Service IDs, then click the checkbox next to the service ID(s).
- To be notified for all services, select All Services.
- In the Contacts section, select the contact(s) you want to add to the notification setting, then use the list in the Language column to select the language for the contact. (If you don't see the contact you want to use, click Add New Contact, fill in the information for the new contact, then click Save.)
- To create a scheduled maintenance notification setting:
- In the Contacts section, select the contact(s) you want to add to the notification setting, then use the list in the Language column to select the language for the contact. (If you don't see the contact you want to use, click Add New Contact, fill in the information for the new contact, then click Save.)
- From the Customer Number list, select the customer number with accounts you want the person to be notified for. (To be notified for all customer numbers, select All Customer Numbers.)
- Select the billing account(s) you want to create the notification setting for:
- To be notified for all billing accounts, select All Billing Accounts.
- To specify billing accounts you want to be notified for, select Select Billing Account, then click the checkbox next to the billing account(s).
- To be notified for all billing accounts, select All Billing Accounts.
- From the Services list, select the services you want to create the notification setting for:
- To be notified for all services, select All Services.
- To select the locations you want to be notified for, select Select Locations, then click the checkbox next to the location(s).
- To select the types of services you want to be notified for, select Select Service Types, then click the checkbox next to the service category(s).
- To select the service IDs you want to be notified for, select Select Service IDs, then click the checkbox next to the service ID(s).
- To be notified for all services, select All Services.
- In the Contacts section, select the contact(s) you want to add to the notification setting, then use the list in the Language column to select the language for the contact. (If you don't see the contact you want to use, click Add New Contact, fill in the information for the new contact, then click Save.)
- To create a billing notification setting:
- When you're done, click Submit.
Control Center creates the notification setting.
Not quite right?
Try one of these popular searches:
Explore Control Center