-
Small Business
Shop
My CenturyLink
Support
- Enterprise & Wholesale
Business help
Updating information in a repair ticket
After you create a repair ticket, you can edit the contact information, add work log notes, or add attachments to update the ticket without having to cancel it and create a new ticket.
Note: You cannot make changes to tickets in Closed or Canceled status.
To update information in a repair ticket:
- Sign in to Control Center. (Get help retrieving your username or password.)
- Click Support, then Ticketing.
Control Center lists all tickets—repair, potential repair, activation, configuration, maintenance inquiry, and reason for outage (RFO)—including tickets Brightspeed created on your behalf. By default, tickets are organized by the date the ticket was created (starting with the newest). The Status column shows the status for each ticket: Active, Canceled, Closed, etc. Potential tickets are marked with a yellow flag. Tickets needing a reply from you are marked with a green flag.
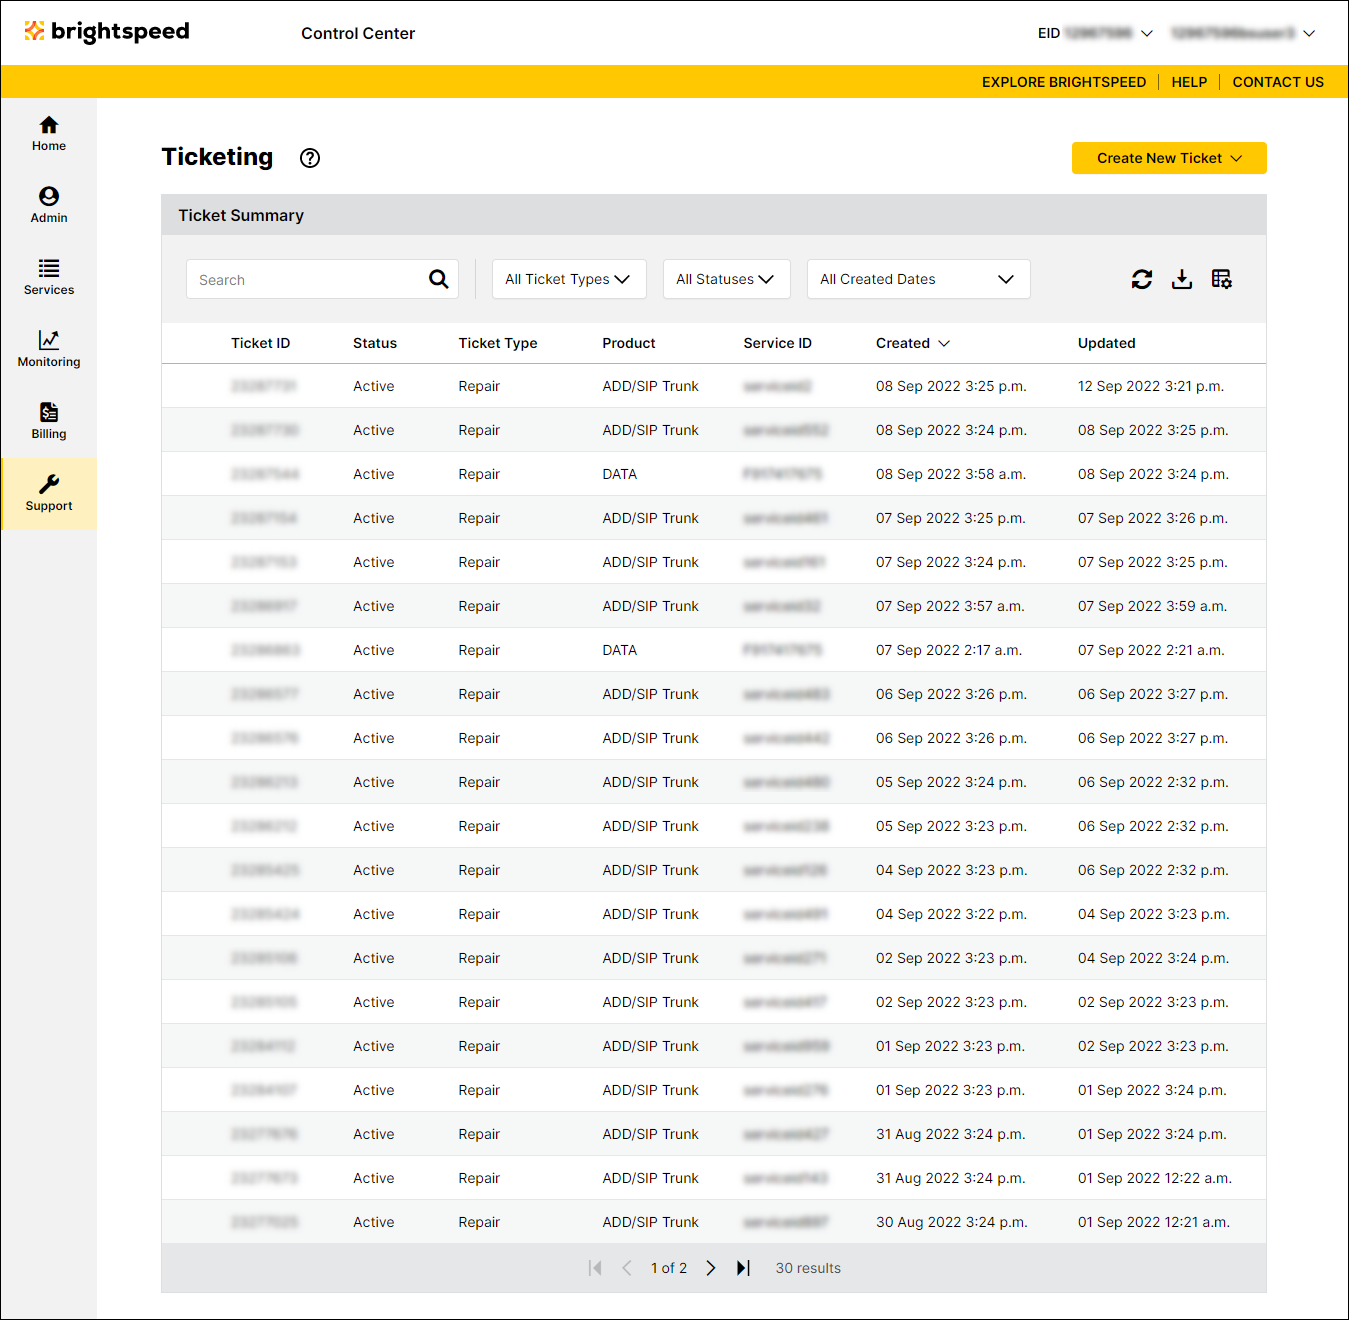
- Search for the ticket you want to work with by doing one of the following:
- Scroll through the tickets on the screen. If you have more than 20 tickets, use the arrows at the bottom of the list to view more tickets.
- Search for the ticket by typing search criteria in the Search field.
- Filter the list by selecting Repair from the All Ticket Types list. You can also filter by ticket status (using the All Statuses list) or by the date the ticket was created (using the All Created Dates list).
- When you find the ticket you want to update, click the row for the ticket.
Control Center shows the detail for the ticket. (Before you update the ticket, review it to verify you're updating the correct one. To view all details for the ticket, click the plus sign () next to the ticket status.)
- Make your updates to the repair ticket:
- To add a work log note (to communicate with your Brightspeed technician), type your note in the Add a Note field, then click Add Note.
- To change your authorization for remote intrusive testing or for whether you authorize Brightspeed to dispatch a technician to the site, click the Authorization section, make your changes, then click Save Authorization. (If you select Yes to authorize us to dispatch a technician, be sure to provide a local contact for the site and include and dispatch instructions you think we might need.)
- To update the contact information for the ticket, click the Contacts section, edit the information for the contact(s), then click Save Contacts.
- To attach a document (such as a more detailed explanation of the problem or additional details pertaining to your request), click the Attachments section, click Add Attachment, browse to locate the file, and click Open, then click Save Attachments. You can upload up to two files—no more than 2MB each.
- To add a work log note (to communicate with your Brightspeed technician), type your note in the Add a Note field, then click Add Note.
Not quite right?
Try one of these popular searches:
Explore Control Center