-
Small Business
Shop
My CenturyLink
Support
- Enterprise & Wholesale
Business help
Updating an account group
After you create an account group, you can manage it by adding or removing accounts. You can also rename the account group, delete the account group, or change your default view to use the updated group.
If you don't see one of your accounts listed, you may need to add it to Control Center or move it from another enterprise ID.
To update an account group:
- Sign in to Control Center. (Get help retrieving your username or password.)
- Click Billing, click Account Settings.
- Click the icon (to the right of the All Accounts list).
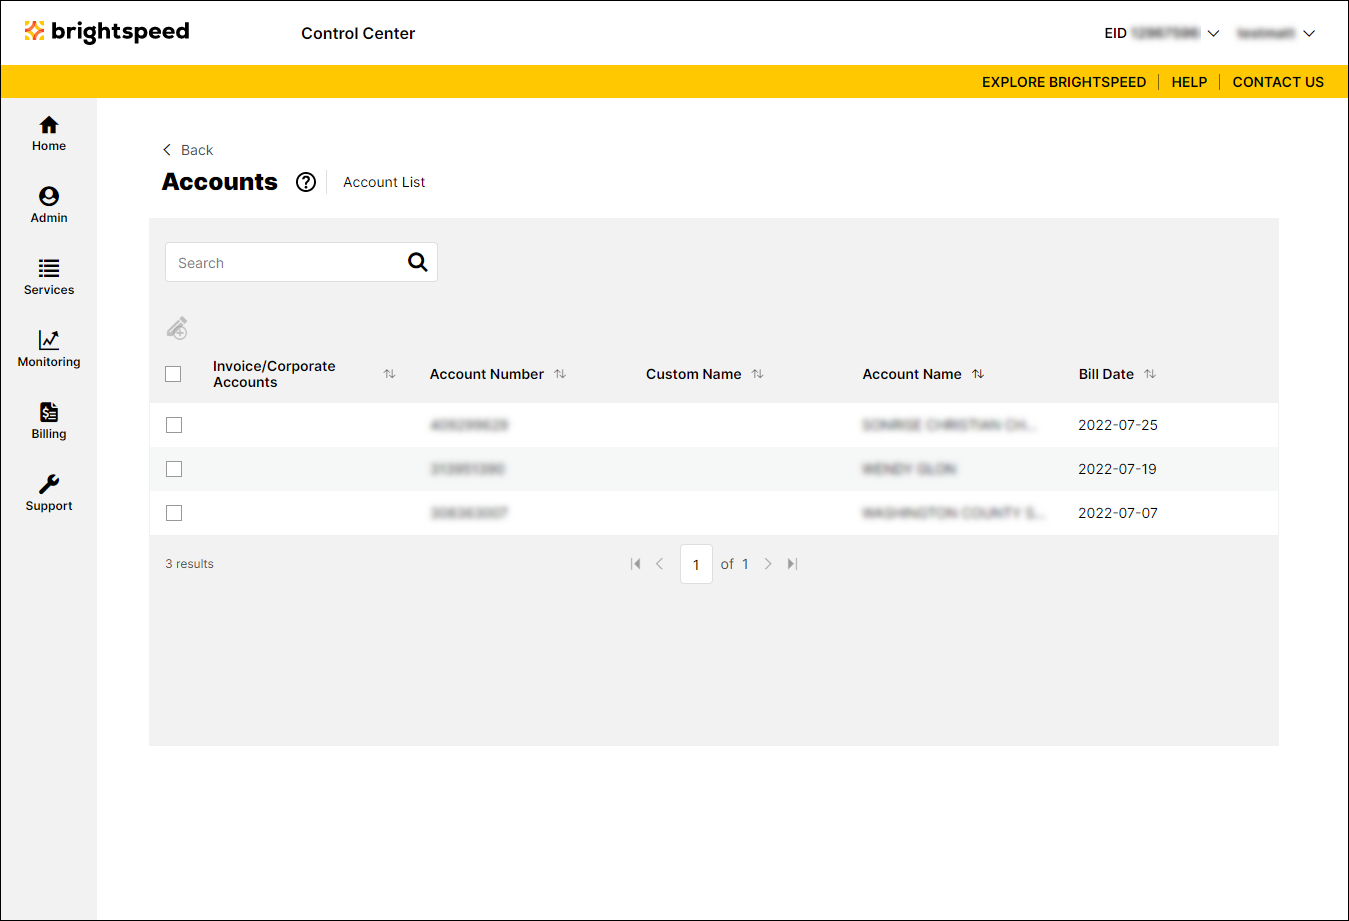
Control Center lists the Lumen accounts assigned to the enterprise ID. By default, accounts are organized by account number.
- Make updates to your account group by doing one of the following:
- To add accounts to an account group, do the following:
- Select the checkbox next to the account(s) you want to add, then click the icon.
- In the window that appears, select the Add to Existing Account Groups radio button.
- Select the account group from the list, then click Save.
- Select the checkbox next to the account(s) you want to add, then click the icon.
- To remove accounts from an account group, do the following:
- Select the checkbox next to the account(s) you want to add, then click the icon.
- In the window that appears, select the Remove from Existing Account Groups radio button.
- Select the account group from the list, then click Save.
- Select the checkbox next to the account(s) you want to add, then click the icon.
- To replace all the accounts in an account group, do the following:
- Select the checkbox next to the account(s) you want the group to include, then click the icon.
- In the window that appears, select the Replace Existing Account Groups radio button.
- Select the account group from the list, then click Save.
- Select the checkbox next to the account(s) you want the group to include, then click the icon.
- To add accounts to an account group, do the following:
Not quite right?
Try one of these popular searches:
Explore Control Center