-
Small Business
Shop
My CenturyLink
Support
- Enterprise & Wholesale
Business help
Creating a hierarchy in Bill Analyst
You can use hierarchies to track your telecom use or spend across different groups and functions of your organization for more informed reporting and analysis.
After you create a hierarchy, you add nodes and sub nodes to it (representing different cost centers in your organization) and assign accounts and services to them. If you no longer need a hierarchy, you can delete it. You can also export a hierarchy.
When you create a new hierarchy, it automatically becomes the active hierarchy until you sign out; when you sign in again, you can choose to make the hierarchy you want to work with the active hierarchy. (The master hierarchy is set as the active hierarchy by default.)
To create a hierarchy:
- Sign in to Control Center. (Get help retrieving your username or password.)
- Click Billing, then click Bill Analyst.
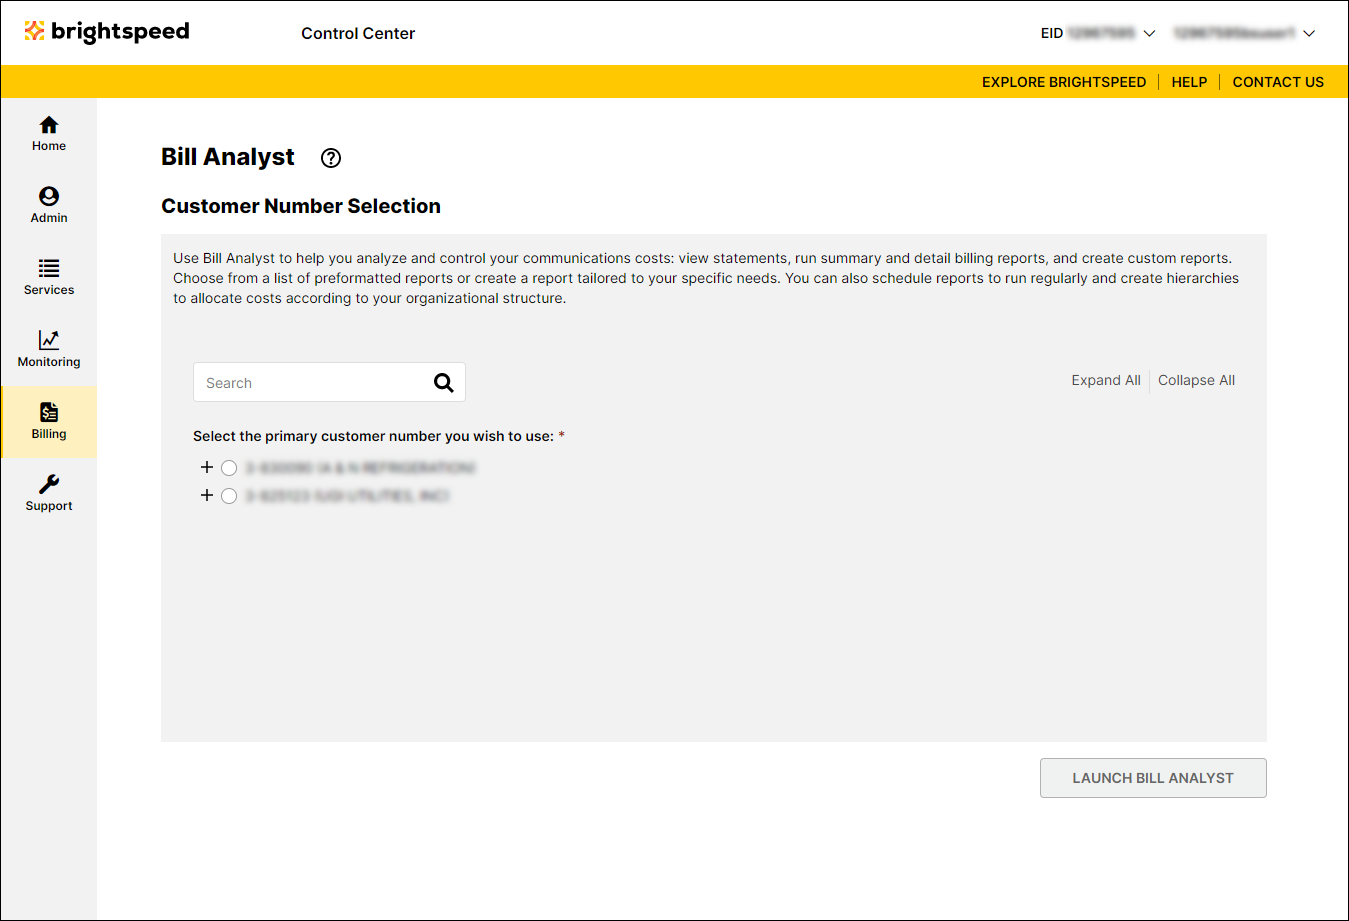
- Select the radio button next to the account you want to view, then click Launch Bill Analyst.
Control Center opens Bill Analyst on a new tab.
- Click the Setup tab.
- In the Hierarchies section, click Set Hierarchy.
- Click Add Hierarchy.
- In the Enter the name of the hierarchy field, type a name for your hierarchy.
- In the Access section, select who can see the hierarchy by doing one of the following:
- To allow everyone in the organization to see the hierarchy, select the Public radio button.
- For only you to see the hierarchy, select the Private radio button.
If you want to experiment with different reporting scenarios, you can create multiple hierarchies to test your results. Make a copy of an existing hierarchy to use as a starting point or you can create one from scratch. If you decide you want to start with a copy, any changes you make to the new hierarchy will not impact the original hierarchy.
- To allow everyone in the organization to see the hierarchy, select the Public radio button.
- Click Save.
Not quite right?
Try one of these popular searches:
Explore Control Center